Overview
Dunning is a collection rule system: it follows each charge from due date to payment, contacts the debtor at the right time through the right channel, records the responses, and closes out on its own when the money comes in. The product's promise boils down to this: no charge is forgotten, improperly repeated, kept alive after payment, or pursued outside the law — and every action (or non-action) is recorded and explainable.
In practice, your daily work comes down to three things: keeping the customer portfolio up to date, making sure charges get into the system (manually, by spreadsheet, or through an integration), and handling the exceptions the rule sets aside for human review. Everything else — reminders, pauses due to disputes, and settlement on payment — the engine does on its own.
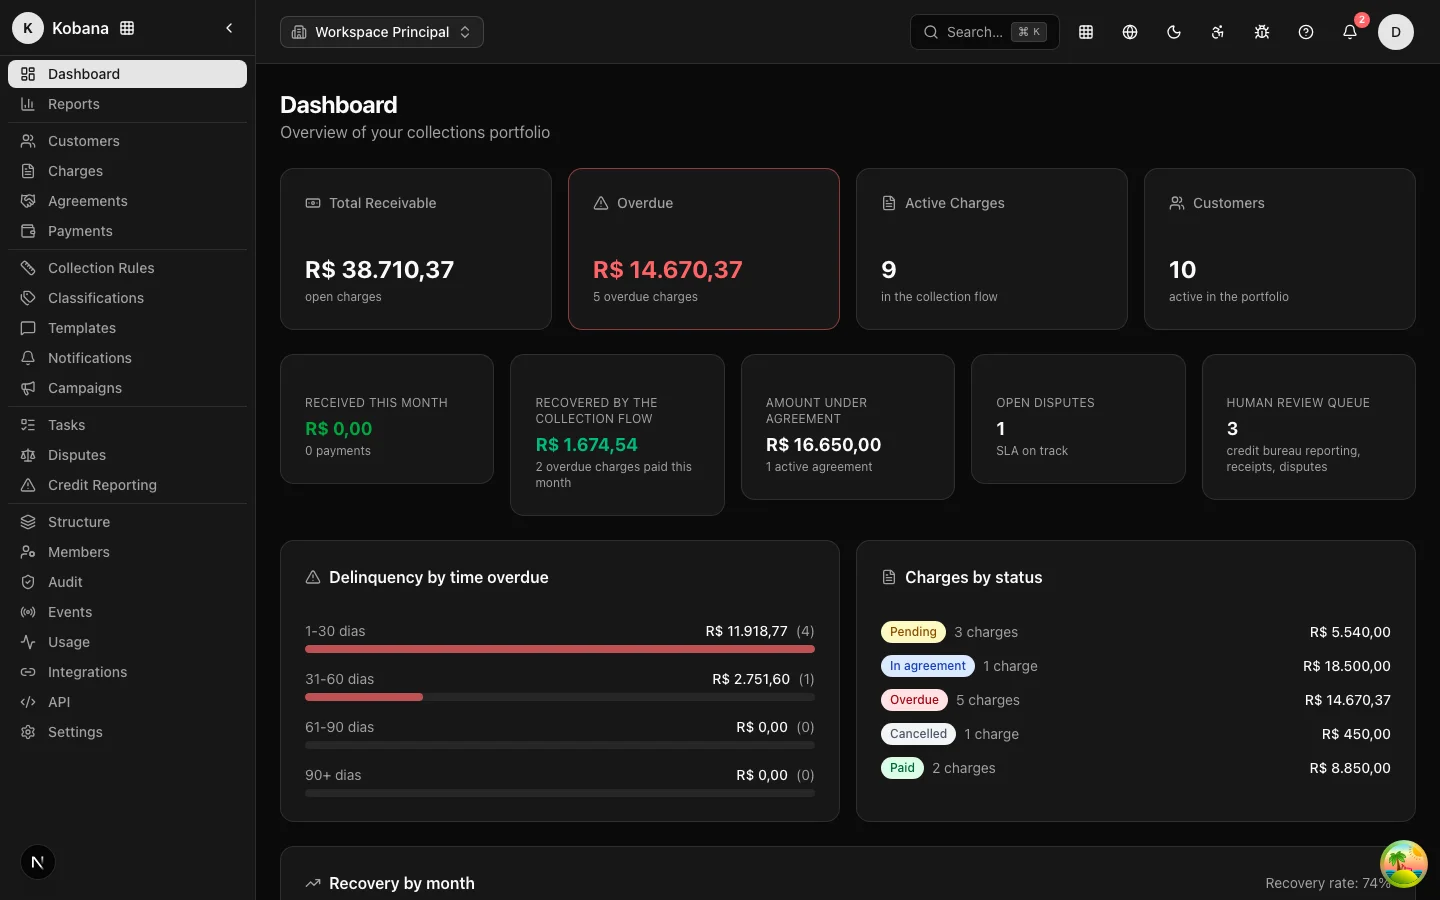
How the account is organized
Your operation is structured in three levels:
- Organization — your Dunning account. Members, permissions, API keys, and general settings live here.
- Company (creditor) — the legal entity on whose behalf you collect. Portfolio customers belong to the company.
- Branch — subdivisions of the company. Every company has a headquarters; additional branches are optional. Charges, rules, classifications, and templates belong to the branch (or to the headquarters, when there are no branches).
You manage this hierarchy on the Structure page in the sidebar menu: create companies and branches, with a name and optional CNPJ. Changes are reflected in the context selector and in outgoing communications.
The context selector
At the top of the screen sits the context selector: a menu showing the account's companies and, within each one, its branches. When you switch context, every screen starts showing data for that slice — customers, charges, metrics. The Headquarters option appears so you can work at the company level, with no branch selected.
If your operation is simple (one company, no branches), you never need to touch this selector: it does not even appear, and the default context covers everything.
The top bar
Besides the context selector, the top bar concentrates the day-to-day shortcuts:
- Search (Cmd/Ctrl+K) — the command palette to jump straight to any screen or record.
- Apps (grid icon) — Kobana's app switcher: from here you move between Collections Management and the other products in the ecosystem (Automatic Billing, Intelligent Finance, Banking Gateway, and the AI assistants Kia and Kadu), each with Learn more and Open options. The same switcher appears in the sidebar.
- Bell — the operator's notifications: what needs you (reviews, "I already paid" claims, broken promises, broken agreements, finished imports).
- Help — the support channels in one menu: online chat, phone, email, plus this documentation and the API reference.
- Language and theme — the language selector (Portuguese, English, Spanish) and the light/dark toggle.
- User menu (avatar) — My profile, Settings, Help and Sign out; the Manage account button takes you to the Kobana account panel (login credentials), and the footer carries the privacy and security policies and the terms of use.
The basic flow
- Register (or import) your customers — individuals or companies, with document, email, and phone number.
- Create the charges — amount, due date, and customer. One at a time, by spreadsheet, or through the API.
- The rule takes over — each charge automatically enrolls in an active collection rule (the default rule, unless you choose another) and receives the steps at the right time: a reminder before the due date, a notice on the day, progressively firmer messages afterwards. All within the legal contact windows of the debtor's state.
- You handle the exceptions — disputes, "I already paid" claims, credit bureau registration, and protest go through human review before taking any effect.
Where to start
- Concepts — the product's vocabulary on a single page.
- Your first charge — from customer registration to the rule running.
- Onboarding checklist — the eight steps the dashboard itself tracks for you.